Focus & DSLR – ReLens Camera App
The reason a photograph from a proper camera looks different from one taken on your phone has very little to do with megapixels. It is optics. A big lens on a big sensor renders a shallow plane of focus, so the subject sits crisply against a smooth wash of background. Your phone has a tiny sensor and a tiny lens, so almost everything from arm's length to infinity is acceptably sharp at once.
ReLens attacks that gap in software. It estimates how far away each part of the scene is, then blurs by distance to imitate what a wide aperture would have done naturally. It is a simulation, and the app itself does not pretend otherwise. Understood as a simulation, it produces good pictures. Expected to be a substitute for glass, it will disappoint you.
Try our recent roundup of Android apps worth installing
Why Phone Photographs Look Flat
Depth of field — the slice of the scene that is acceptably sharp — narrows as the aperture widens, as the sensor grows, and as you move closer to your subject. A phone loses on the first two counts by a wide margin. The physical opening in the lens is a couple of millimetres across, and the sensor is smaller than your fingernail.
The consequence is deep focus by default. That is genuinely useful for a group photograph or a landscape where you want everything sharp. It is unhelpful for a portrait, where the point is to separate a face from a cluttered room. Every phone manufacturer has spent a decade building software to fake that separation, and third-party apps like this one are doing the same job with more manual control exposed.
How The App Builds A Depth Map
Before anything can be blurred convincingly, the app needs to know what is near and what is far. There are three ways to work that out, and which one your handset uses decides how good your results will be.
- Two cameras separated by a few millimetres give parallax, and comparing the two views yields a rough distance for every point in the frame
- A dedicated depth or time-of-flight sensor measures distance directly and is the most reliable input when a phone has one
- A single camera falls back to machine estimation, which reads the scene and guesses depth from visual cues alone
The single-camera route is the weakest and it is what most budget handsets rely on. It works acceptably on a clear human subject, because human shapes are exactly what these estimators are trained on, and it struggles with a chair, a bicycle or a plant. If your phone has only one rear camera, expect portraits to work and object shots to look approximate.
Shooting Modes And Lens Simulations
Once depth is estimated, the interesting part begins. The app offers a spread of lens effects, bokeh shapes and optical simulations, and they are not merely different blur strengths.
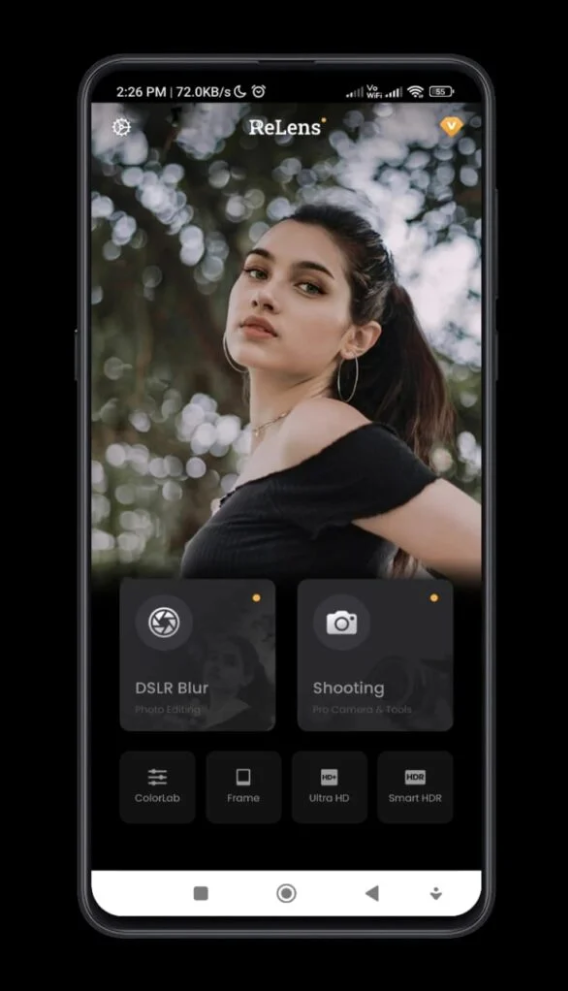
Bokeh shape is the most enjoyable of these. In real optics, an out-of-focus point of light takes the shape of the aperture opening, which is why some lenses render circles and older ones render hexagons or swirls. Selecting a shape here changes how background highlights are drawn, and on a night shot with streetlights behind the subject the difference is dramatic rather than subtle.
Manual control covers white balance, exposure and blur strength, and using it beats the automatic setting most of the time. Automatic blur is tuned to impress, which means it goes too far. Pulling the strength back to somewhere around half typically produces a photograph that looks taken rather than processed.
There is also a professional video mode and a set of standard photography modes, though the still-image work is clearly where the effort has gone.
Choosing The Point Of Focus Afterwards
Focus-after-capture is the feature that most justifies the install. Because the app keeps the depth information alongside the image, it can re-render the picture with the sharp plane placed somewhere else entirely. Tap the face, tap the hands, tap the object on the table behind — each produces a different photograph from the same capture.
This is not something a conventional camera can do. Once a film or sensor exposure is made through glass, the focus is fixed forever. Being able to change your mind afterwards is a genuine advantage of the computational approach, and it rescues shots where the autofocus grabbed the wrong thing at the wrong moment.
There is a related trick worth knowing: a 3D depth view that tilts the image slightly to show the layers the app has detected. It is a novelty as an output, but it is an excellent diagnostic. If the layers look wrong there, the blur will look wrong too, and you have learned that before you spend time editing.
The Editing Tray
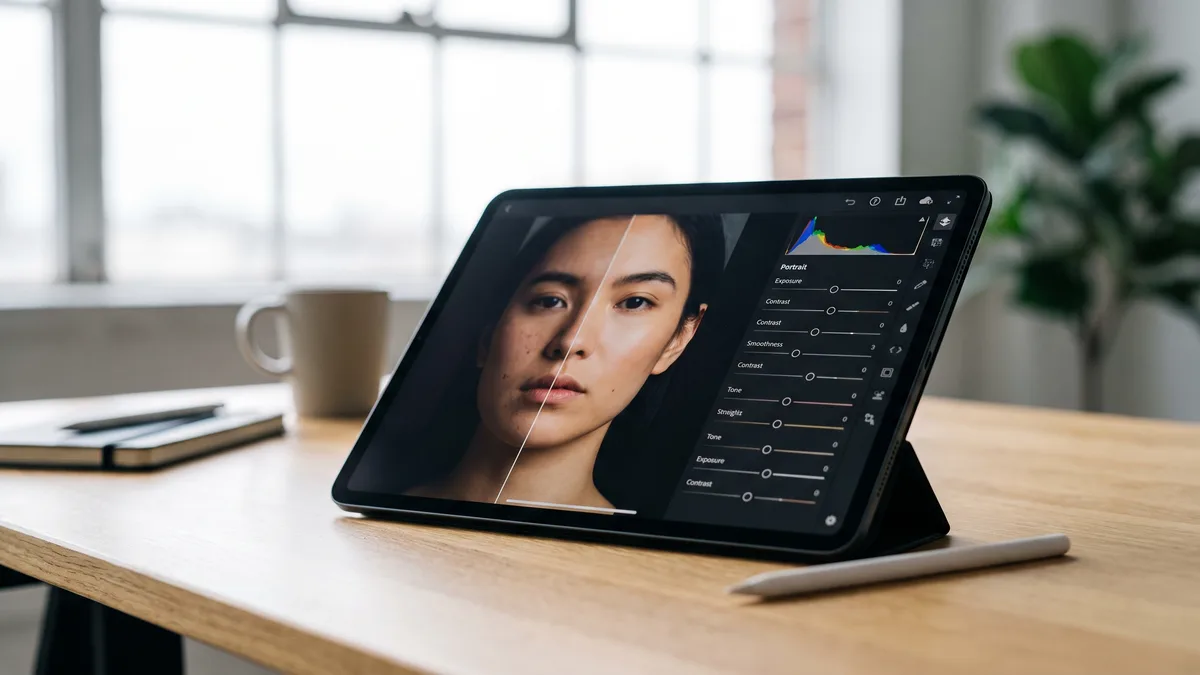
Beyond capture, there is a toning panel, filter packs and photo frames. The toning tool is the part that repays attention: curves and colour balance applied after the blur, which is the right order, because grading first and blurring second produces halos where the two operations disagree.
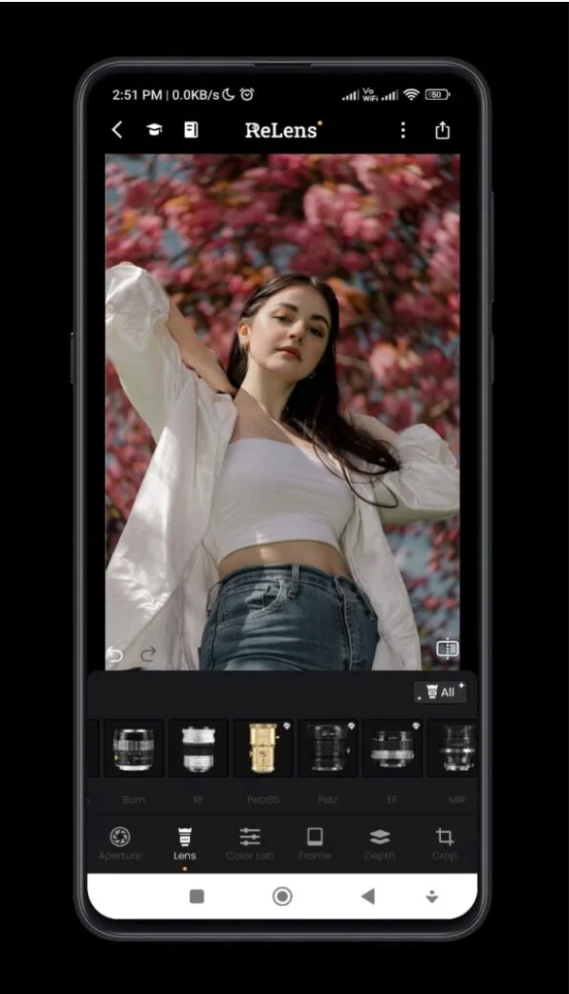
Manual blur is the safety net. When the automatic depth map gets a region wrong, you paint the correction yourself. It is fiddly on a small screen and it is the difference between a photograph you keep and one you delete.
Shooting So The Simulation Holds Up
Put distance behind the subject: The effect needs somewhere to fall off. A person standing against a wall gives the app nothing to blur. Move them three or four metres forward and the same shot transforms.
Light the edges: Depth estimation reads boundaries. A subject lit from behind or the side separates cleanly; a subject in flat shadow blends into the background and the cutout goes soft.
Avoid gaps and lattices: Fences, spectacle frames, curly hair and the triangle between an arm and a torso are where every depth map fails. Change the pose rather than fighting the software afterwards.
Hold still through the capture: Multiple frames are being combined. Movement during the sequence produces smeared edges that look like a processing fault rather than motion blur.
Dial the blur back: Compare the default against half strength on the same picture. The weaker version almost always reads as more convincing, because real lenses at portrait distance are not as destructive as the preset assumes.
Where The Illusion Falls Apart
Being direct about this is more useful than a feature list. Real optical blur increases smoothly with distance, so a wall two metres behind the subject is softer than a face and a tree thirty metres back is softer again. Depth maps quantise into layers, so you often get a sharp subject, one blurred slab of background, and a visible step between them where a gradient should be.
Edges are the other giveaway. Wherever the boundary is ambiguous the software has to guess, and it guesses wrong around hair, around anything transparent, and around thin objects such as a guitar neck or a stem of grass. Look closely at a shot of somebody wearing glasses and you will usually find one lens sharp and the frame around it smeared.
- A person standing several metres clear of a wall is the ideal case and looks excellent
- Pets are reasonable, though fur backlit against bright sky defeats the boundary detection
- Small objects need close working distance before any separation appears at all
- Group shots confuse the map wherever one person overlaps another at a similar distance
- Subjects behind glass, mesh or railings produce boundaries the software cannot resolve
Low light compounds everything. Depth estimation depends on detail, and a noisy dark frame contains less usable detail, so the map degrades exactly in the conditions where you most wanted a bright-lens look.
ReLens — Verdict
- Portrait separation — convincing on people with space behind them
- Post-capture refocus — the standout feature and genuinely useful
- Creative control — bokeh shapes and manual settings beat the stock camera
- Edge handling — hair, glasses and lattices still expose the seams
Summary
A capable simulation that flatters good scenes and struggles with awkward ones, which is exactly what you should expect from depth-map photography.
Permissions, Storage And Battery
A camera app legitimately needs camera and storage access. Anything beyond that deserves scrutiny, and this one asks for no personal details to get started, which is the correct behaviour for its category. Grab it from the official listing rather than a mirror, since a package with camera access is not something to source from a random site.
Get the app from its official Play Store listing
On processing load, expect a pause of a second or two after each shot while the depth map is computed. On older hardware that stretches out and the preview may stutter while the app renders live blur. Turning the live preview effect off and applying blur afterwards keeps the camera responsive.
Storage adds up faster than you expect, because saving the depth data alongside the image is what makes refocusing possible later. If you shoot a lot and never revisit old pictures, exporting flattened copies and clearing the originals is worth doing periodically.
What Readers Ask Before Installing
Will it work on a phone with one rear camera? Yes, using estimated depth rather than measured depth. Portraits will be decent and object photographs will be hit and miss. Managing that expectation is most of the battle.
Is it better than my stock portrait mode? On a flagship, probably not for straightforward portraits, since the manufacturer tunes its pipeline for its own hardware. What you gain is control, bokeh shape choice and refocusing, none of which the stock camera exposes. On a budget phone with a weak camera app, the gap runs the other way.
Can it fix blur on a photograph I already have? Partly. Applying the effect to an existing image means the app has no capture-time depth information, so it must estimate everything from one flat picture. Results are noticeably weaker than shooting inside the app.
Does it replace a real camera? No, and it would be dishonest to suggest so. What it does is narrow the visible distance between a phone snapshot and a properly rendered portrait, which for most people is enough.
Why do my night shots look wrong? Depth estimation needs detail and darkness removes it. Add any light on your subject, even a lamp from the side, and the map improves immediately.
Install it if you photograph people, have a background you can put distance into, and enjoy adjusting settings rather than accepting a preset. Skip it if you mostly shoot landscapes, documents or fast-moving subjects, because none of those benefit from a shallow plane of focus and the extra processing step will only slow you down.